The proper equipment is critical for producing a quality Skillshare class. It is possible to create a beautiful class with an accessible and user-friendly setup that won’t break the bank!
In this article:
Recording Equipment and Software
External Camera
Newer smartphones with a built-in camera can shoot high-quality video suitable for a Skillshare class. What’s more, your phone’s autofocus and exposure settings make filming a breeze.
Other camera options include external webcams, which plug right into a computer, or DSLR cameras, which are a little pricier but have far more options in terms of camera control. As long as your camera can capture widescreen video (16:9 horizontal) at 1080p resolution or above, you’re good to go.
External Microphone
Without high-quality audio, your video quality won’t matter. The good news is that getting high-quality audio is inexpensive and easy!
For any video format — talking head, physical demonstration, screencast, or slideshow — we recommend recording audio separately using an external high-quality microphone to reduce background noises and general fuzziness.
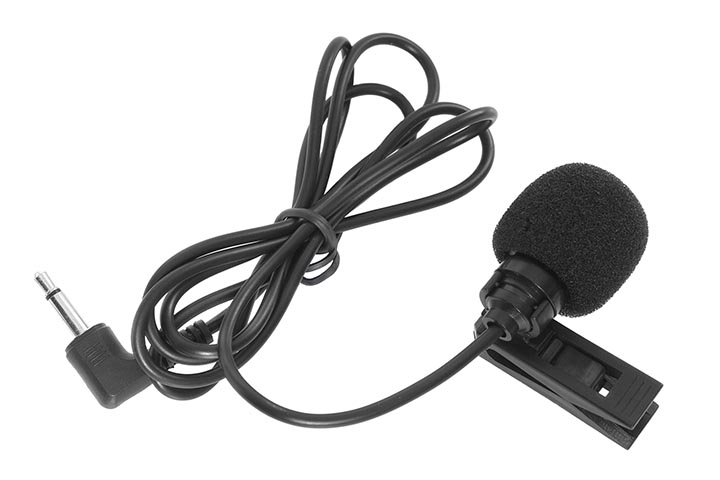
A decent lavalier microphone works great for recording as you can clip it to your clothes and generally conceal it from view. There are plenty of lavalier microphones available at different price points from online retailers; we recommend seeking a mic with an omnidirectional pickup pattern and a frequency response of approximately 60-18,000 Hz. If you’re new to recording video, we recommend a wired or direct-in microphone that plugs into your camera rather than a wireless option.
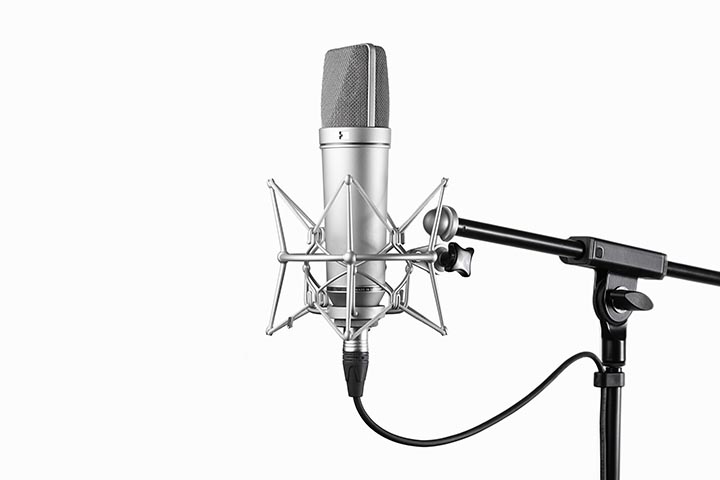
Alternatively, you may use a condenser or Snowball microphone, which will be visible in your video.
Another option is to use your smartphone as an external microphone. This YouTube video offers a quick tutorial on how to do that: Use An iPhone To Record High-Quality Audio For Your Videos. In addition, there are low-cost options that allow you to plug in a lavalier-type microphone directly into your phone.
We recommend that you don’t use smartphone headphones to record audio, e.g., Airpods. The recording quality is less than ideal and wearing them doesn’t enhance your appearance on camera.
Lighting
Good light matters, no matter what camera you choose to use.
We recommend natural light for shooting your videos. The more natural light you have, the less you’ll need to supplement with artificial lights, and, usually, the better your footage will look. Refer to the article Set Up Your Space for specific directions on how to work with natural light within your space.
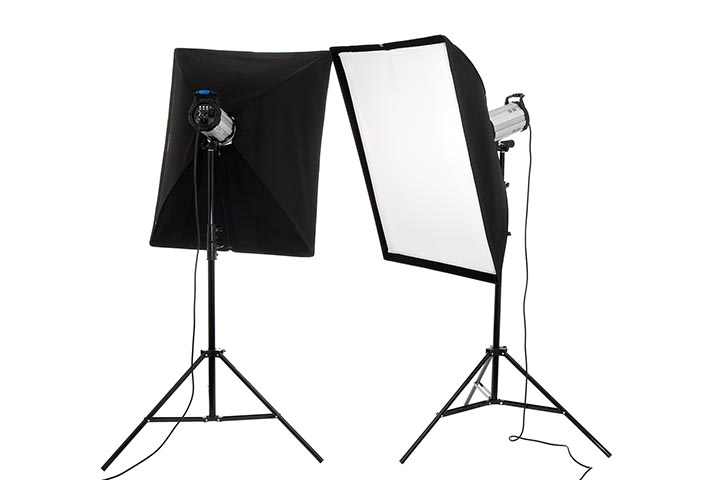
If you don’t have access to natural light you can use artificial lights. A pair of softboxes on stands are a great way to fill a room with soft, diffused light.
If you don’t have softboxes you can use a pair of regular floor lamps. Just be sure to angle them or bounce the light off a wall to avoid harsh shadows.

Tripod
A tripod is necessary for stabilizing the camera and to ensure you’ll get clear, consistent framing. Inexpensive tripods for any camera type are widely available, from mini tripods specifically for phones to heavier models for DSLRs and other cameras. The ideal tripod solution should allow you to set it up at eye level when speaking into the camera.
If you can’t get a tripod, in a pinch you can balance your camera on a stack of books and secure it with masking tape.
Screencast Software
If you’re planning to screencast some of your videos you’ll need software on your computer to do it. Newer operating systems sometimes offer native screen recording, such as Quicktime for Mac or Game Bar on Windows, but it might be best to invest in external software to do the job, such as Camtasia, Descript, or Screencast-O-Matic. Note that some free trial versions may add a watermark to your exported footage, so to avoid that you might need to upgrade to a paid version.
Tripod Arm
If you are planning to do any physical demonstrations, a tripod arm is essential! Also known as a horizontal or extension arm, a tripod arm allows you to do hands-free overhead shots. Articulating arms made especially for phones can be mounted on a table, but consider your overall setup before going this route to avoid the arm being in one of your angles.
Editing Equipment and Software
When it comes time to edit, you'll need some specific software to get the job done. The type of software you choose depends on your budget and how many extras (such as fancy transitions or color correction) you’d like to have.
DaVinci Resolve is a free fully-featured editing program that should cover all of your bases. Other free or nearly free options include iMovie (Mac only), VSDC (PC only), Filmora, and Lightworks. You may need to upgrade your software to a paid version to get all of the features you want or to remove watermarks from your exported footage.
Final Cut Pro and Adobe Premiere Pro are industry-level standards that offer a lot of features, but also a steeper learning curve.
For editing audio, we recommend Audacity because it's free, open-source, and easy to use.
Go Further
Are you new to editing and not sure where to start? We’ve got a few general tips in our article, Editing Your Class. There are some Skillshare class recommendations in that article as well, which might help you choose the right tool for the task.