Filming doesn’t have to be a chore! Read on to learn our tips for any video format, as well as capturing high-quality audio and B-roll.
In this article:
- General Filming Tips
- Recording Audio
- Recording Talking Head or Physical Demonstrations
- Recording Screencasts and Slide Presentations
- Capturing B-roll and Behind-the-Scenes Footage
General Filming Tips
Here are some general tips you should consider while filming your class.
- Prepare to do multiple takes. For editing purposes you may want to shoot a lesson more than once, if you can, so you have more footage to work from. Consider using a clapperboard or slating (visually and audibly signaling) every time you begin recording a new portion, including lesson number and take number. This will make organizing your footage and multiple takes much easier in post-production.
- Film your class in short segments, as you have it on your class outline. For talking head videos it can be helpful to record a take and then watch it while making notes on what you need to improve.
- Film your intro video last. Since your intro video is what your students will see first, you want your delivery here to be the most polished. Filming your intro after you’ve shot all of your lessons also gives you the opportunity to reframe your class if you made any changes along the way. As an alternative, start by recording the content you feel most excited about or feels the easiest to help you loosen up on camera.
Recording Audio
For any video format — talking head, physical demonstration, screencast, or slideshow — we recommend recording audio separately using an external high-quality microphone, such as a lavalier microphone, to reduce background noises and general fuzziness. Refer to our article Selecting the Right Equipment for specific recommendations.
When recording audio, keep in mind the following tips:
- Keep the microphone about 6 to 12 inches away from your mouth, and aim it towards your mouth from slightly above or below. If you’re using a lavalier mic, make sure it isn’t brushing against your hair, clothing, or jewelry.
- Minimize audio reflection by recording yourself in a smaller space for better acoustics. You could record your voice overs in a closet or cover hard, reflective surfaces such as tables with blankets.
- If you can, set your microphone’s gain or recording level to about 75% input to avoid distortion.
- Always run a little test before recording anything to ensure your microphone placement is working well. Play it back, ideally with headphones, and listen for any rustling, buzzing, or low audio.
- Stick to one location and audio setup for all of your videos to ensure the audio sounds consistent.
Recording Talking Head or Physical Demonstrations
In addition to good lighting, a properly styled background, and clear and consistent audio, we recommend the following for your talking head videos and physical demos:
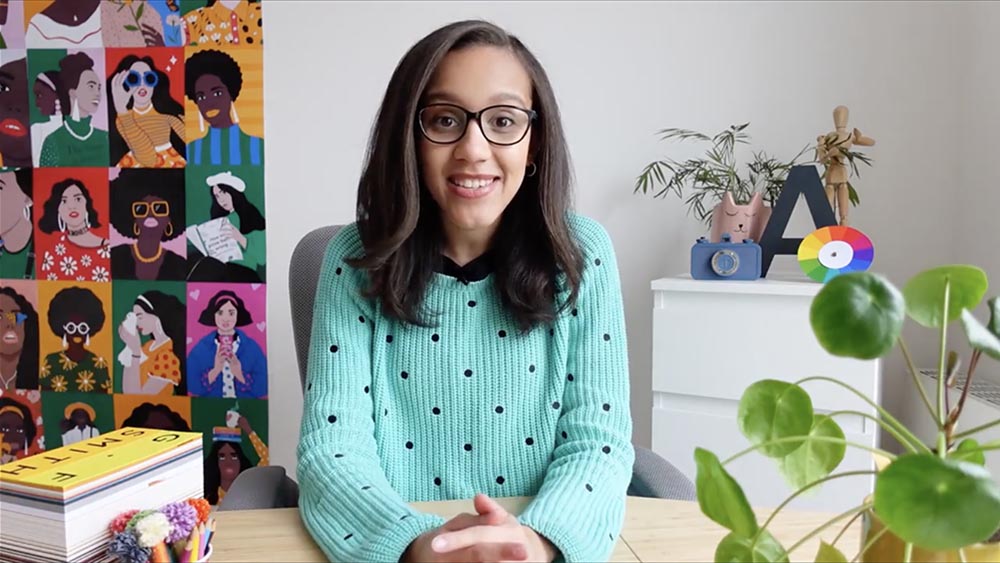
- Consider how you’re framed in the shot. We recommend that you raise your camera to eye level and position it 3 to 4 feet away from you.
- Include your hands in the shot — it really helps with student engagement.
- If you’re planning on using an overhead camera for a physical demonstration, refer to the tips in this article: How to DIY an Overhead Video Shot with What You Have. If at all possible, we recommend filming your overhead in 4K format, as this significantly reduce the chance of pixelation when zooming in and reframing while editing.

Recording Screencasts and Slide Presentations
- Change your screen resolution to 1920x1080 for the best quality video. Make sure your screencast software is also capturing your screen at the same resolution.
- Install the software ahead of time and run a few test recordings before film day.
- Do a test to make sure you’re able to capture audio successfully on your screencast. Alternatively, have a voice-over plan ready to narrate your videos in editing.
- When recording your screen, make sure that the window you intend to share is the only thing showing. Tidy up your desktop and close any windows or tabs that you’re not using.
- Use your mouse to occasionally highlight any specific details on your screen while working. Some screencasting software has built-in tools that recognize or annotate keystrokes and mouse clicks during screencasting — these can be helpful to show students your workflow on the computer.
Capturing B-roll and Behind-the-Scenes Footage
B-roll is the supplemental or secondary footage that you can intercut into your main shot (your A-roll). However, B-roll isn't simply your "additional" footage — B-roll can be used intentionally to add detail and texture to your lesson videos.
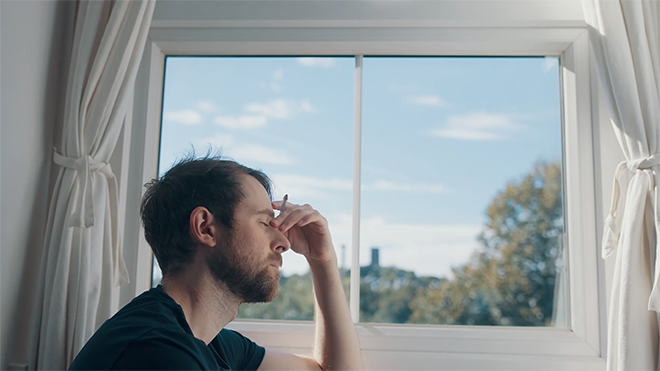
Wide shots are a great way to set the stage for your class and invite your students into your creative space. You can experiment with filming wide shots at different angles to get a more dynamic look.
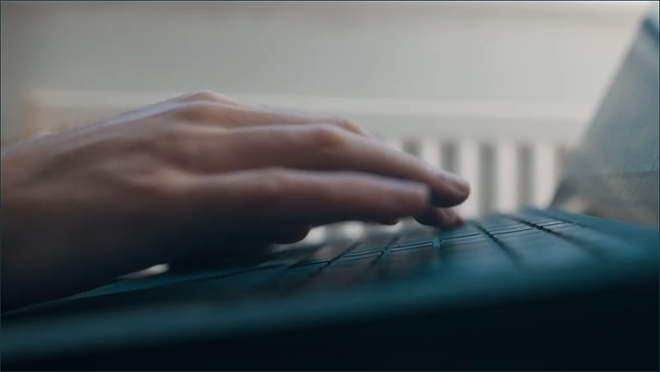
Medium shots prioritize a section of a wide shot and show it in more detail. That's exactly what your talking head shots do: they bring attention to you in the scene. For B-roll, consider capturing medium shots that focus on you demonstrating a process relevant to your class topic: typing on the computer, brainstorming an idea, sketching out a brain map, or painting a picture.
Close-ups add additional detail and energy to your videos. Some options might be: dipping a paintbrush in paint, tapping on an enter key, or zooming in on a silly facial reaction. All of these add texture and life to your videos!

